Secure Remote Management with Windows Admin Center via Azure Arc and SSH Tunneling.
Overview
This guide demonstrates how to securely access Windows Admin Center (WAC) on a remote server using Azure Arc and SSH tunneling. This approach provides a secure, cloud-based connection without exposing your management interface directly to the internet.
What You’ll Achieve
- Secure remote access to Windows Admin Center through Azure Arc
- SSH tunnel for encrypted port forwarding
- Centralized management of multiple servers from a single WAC instance
- Leverage WAC extensions (Active Directory, DNS, RDP, etc.) remotely
Prerequisites
Before you begin, ensure you have:
- Azure subscription with appropriate permissions
- Azure CLI installed on your local machine
- Windows Admin Center installed on the target server
- Azure Arc agent installed on the server hosting Windows Admin Center
- Local administrator credentials for the Arc-enabled server
Architecture
1
2
3
4
5
[Your Local Machine]
    ↓ (Azure CLI + SSH)
[Azure Arc Service]
    ↓ (Secure Connection)
[Arc-enabled Server with WAC]
Step-by-Step Guide
Step 1: Install Azure Arc Agent
- Navigate to the Azure Portal
- Go to Azure Arc > Machines > Add/Create > Add a machine
- Select Generate script for your server
- Run the generated PowerShell script on your target server as Administrator
The script will:
- Install the Azure Connected Machine agent
- Register the server with Azure Arc
- Create the server resource in your specified resource group
Verify the installation:
1
azcmagent show
Step 2: Install Windows Admin Center
- Download Windows Admin Center on the Arc-enabled server
- Run the installer with these recommended settings:
- Port: 443 (default) or custom port
- Certificate: Use self-signed for testing, or provide your own SSL certificate
- Allowed client connections: Select based on your security requirements
- Complete the installation and verify WAC is accessible locally:
1
https://localhost:443
Step 3: Authenticate with Azure CLI
On your local machine, authenticate to your Azure tenant:
1
az login
Follow the browser prompt to complete authentication.
Verify your subscription:
1
az account show
If you have multiple subscriptions, set the correct one:
1
az account set --subscription "7501db9d-d5f8-4597-8df2-xxxxxxx"
Step 4: Establish SSH Tunnel via Azure Arc
Use the Azure CLI to create an SSH connection with port forwarding:
1
2
3
4
5
6
az ssh arc \
  --subscription "7501db9d-d5f8-4597-8df2-xxxxxxxxx" \
  --resource-group "hyperv" \
  --name "HYPER-01" \
  --local-user administrator \
  -- -L 3333:192.168.81.101:443
Command Breakdown:
--subscription: Your Azure subscription ID--resource-group: Resource group containing the Arc-enabled server--name: Name of the Arc-enabled server--local-user: Local administrator account on the remote server-- -L 3333:192.168.81.101:443: Port forwarding configuration3333: Local port on your machine192.168.81.101:443: IP and port of the WAC instance (can be localhost or specific IP)
Note: You’ll be prompted for the administrator password.
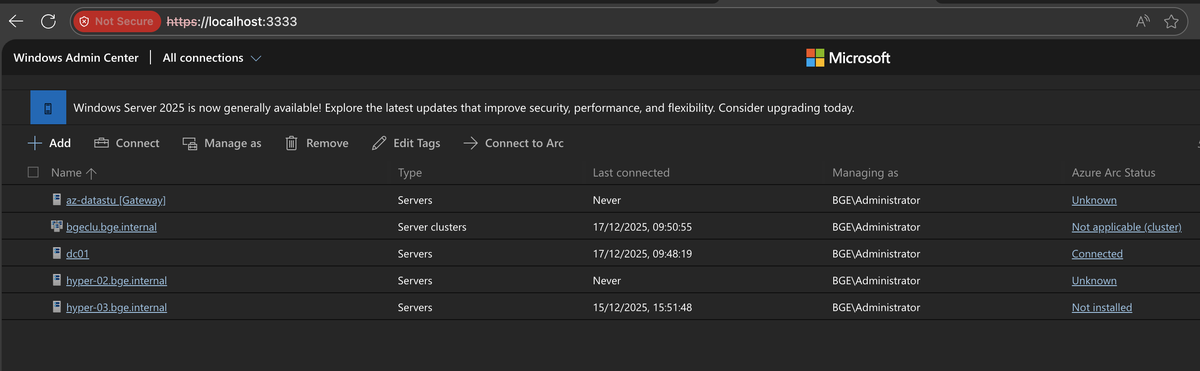
Step 5: Access Windows Admin Center
- Keep the SSH connection active (don’t close the terminal)
- Open your web browser and navigate to:
1
https://localhost:3333
- Accept the security certificate warning (if using self-signed certificate)
- Log in with your administrator credentials
Step 6: Manage Your Environment
Once connected to Windows Admin Center, you can:
Add Server Connections
- Click Add in Windows Admin Center
- Select Server or Windows PC
- Enter the hostname or IP address of servers accessible from the Arc-enabled machine
- Provide credentials (use saved credentials for convenience)
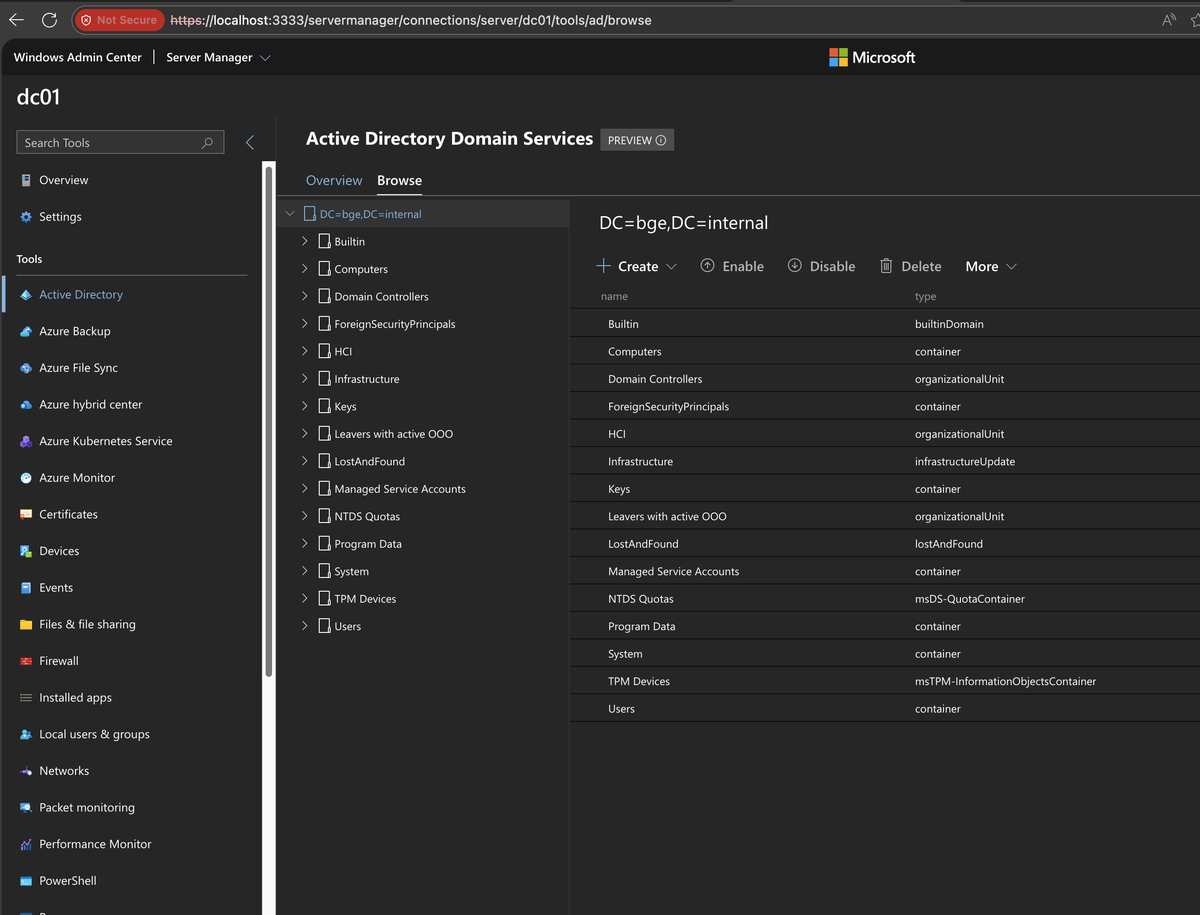
Install and Use Extensions
Navigate to Settings > Extensions to install:
- Active Directory - Manage AD users, groups, and OUs
- DNS - Configure DNS zones and records
- DHCP - Manage DHCP scopes and reservations
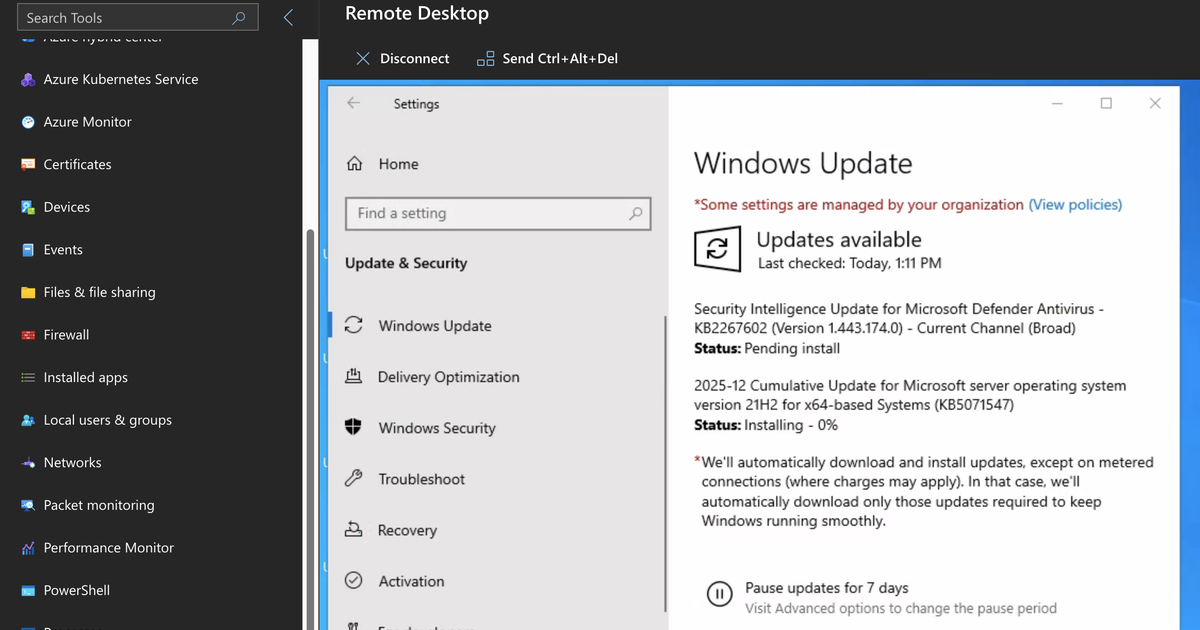
- Remote Desktop - Connect to servers via RDP
- Failover Clustering - Manage Windows clusters
- Hyper-V - Manage virtual machines
- And many more…
Manage Multiple Servers
From a single WAC instance, you can now:
- Monitor performance across servers
- Deploy configurations and updates
- Manage certificates and firewall rules
- Access Event Viewer and logs
- Execute PowerShell scripts
Security Considerations
Best Practices
- Use Strong Authentication
- Enable Multi-Factor Authentication (MFA) on Azure accounts
- Use complex passwords for local administrator accounts
- Consider Azure AD integration for WAC
- Network Segmentation
- Place WAC on a management VLAN/subnet
- Restrict firewall rules to necessary ports only
- Use Azure Arc with private endpoints when possible
- Certificate Management
- Replace self-signed certificates with trusted certificates in production
- Regularly renew and rotate certificates
- Use your organization’s PKI infrastructure
- Audit and Monitoring
- Enable Azure Arc logging and monitoring
- Review WAC audit logs regularly
- Monitor SSH connections through Azure Activity Log
- Least Privilege Access
- Grant only necessary Azure RBAC roles
- Use just-in-time (JIT) access where applicable
- Regularly review and revoke unused permissions